Set up management zones
- How-to guide
- 2-min read
Management zones are comprised of rules that define which entities and dimensional data (such as logs and metrics) can be accessed within each management zone. Management-zone rules (as well as automatic tagging rules) are based on the same powerful Dynatrace conditional decision engine. In combination with user and group permissions, you can set up management zones to create multiple overlapping partitions in your environment to promote observability, collaboration, and security.
Create a management zone
You can create up to 5,000 management zones by default in your Dynatrace monitoring environment. (For any questions, contact a Dynatrace product expert via live chat within your Dynatrace environment.)
-
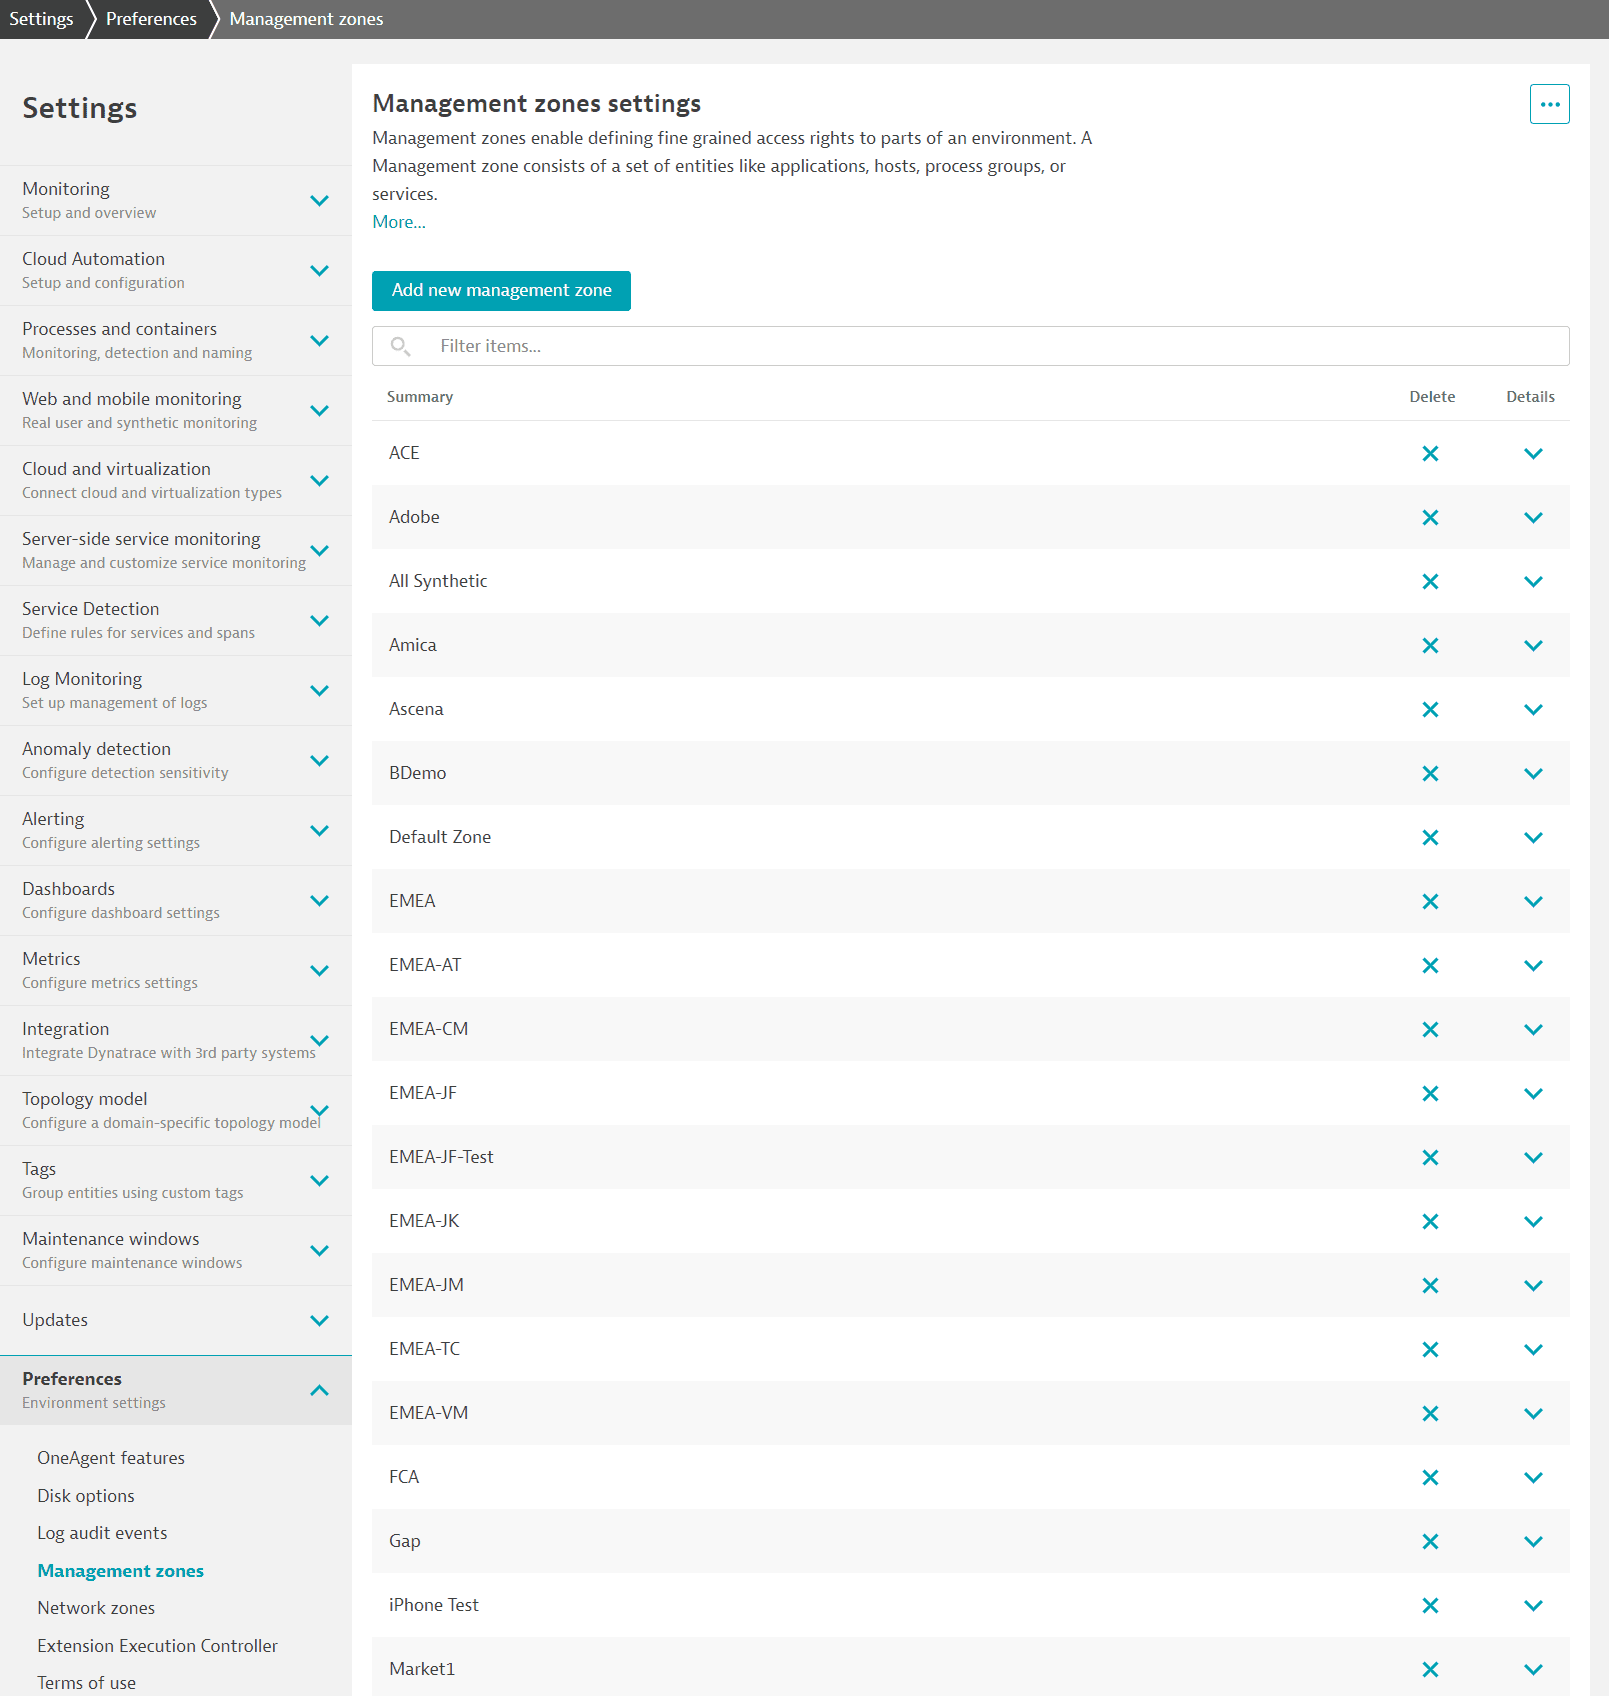
Go to Settings > Preferences > Management zones (or select the Management zones settings page from search results).

-
Select Add new management zone.
-
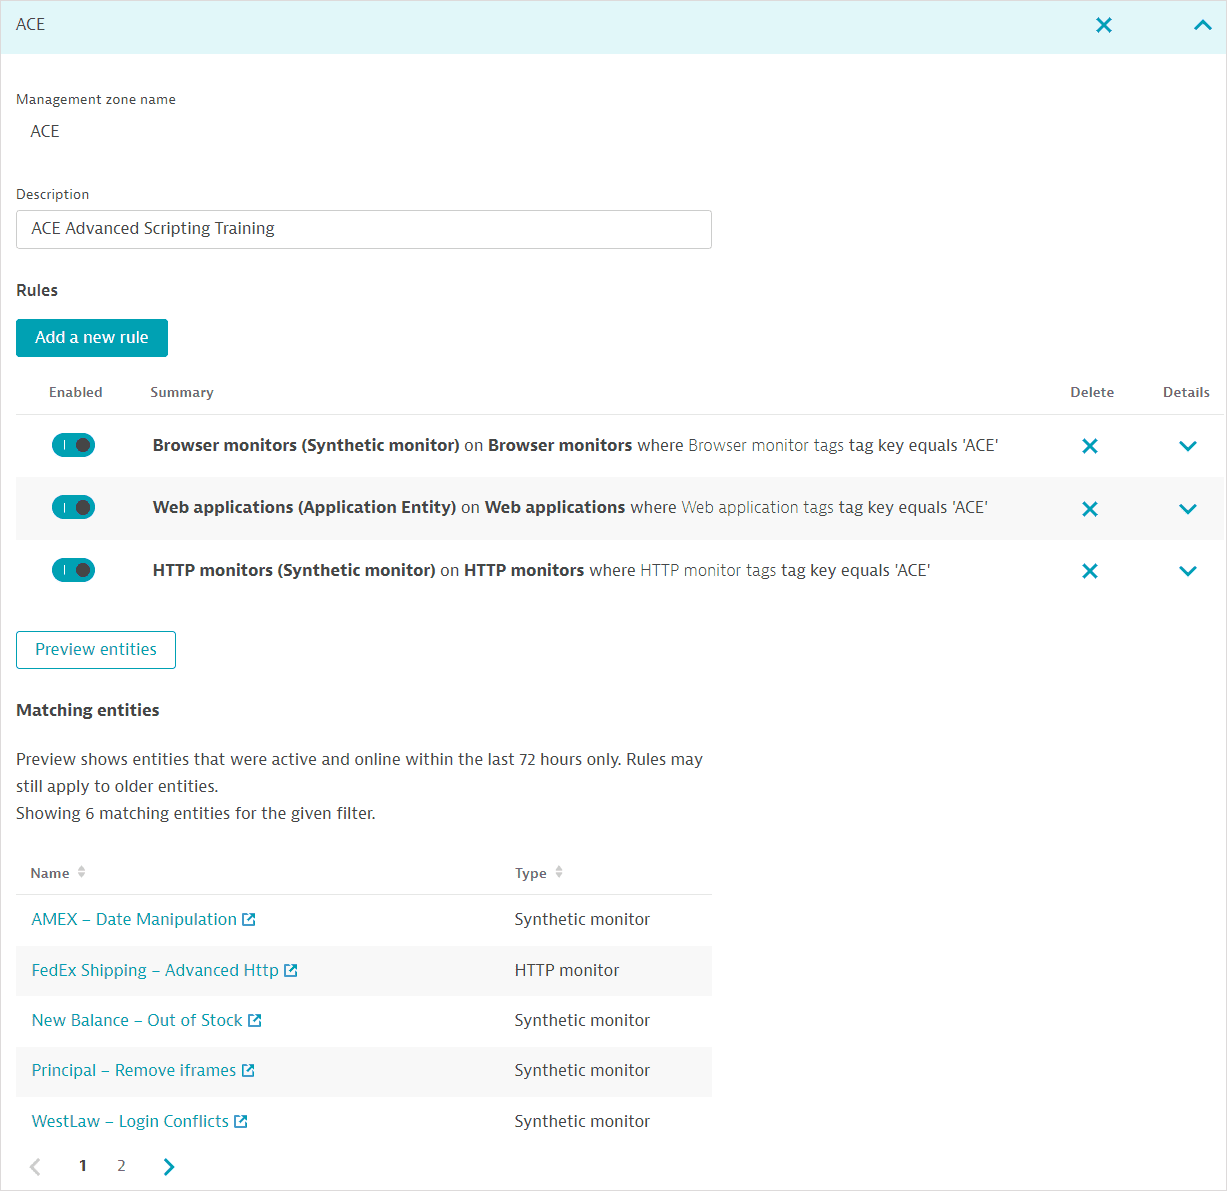
Provide a Management zone name and Description.
-
Create management-zone rules governing which entities and data are part of and accessible within the management zone. These rules for entities and dimensional data are based on two approaches: a UI-based approach and a text-based approach leveraging the powerful entity selector of the Environment API v2.

Select a rule (for example, Web applications in the image above) > Preview entities to see the Matching entities.
Read more about:
- How log data can be ingested and automatically assigned to management zones in Management zones and ingested log data (Logs Classic).
- How to add a service-level objective to a management zone so users with access to the management zone can view SLO status and error budget in the Service-level objectives page.
Assign access rights to management zones
After you set up a management zone, define which user groups should have access to the management zone and at what level.
Go to your Accounts view. User and group permission controls are available when you sign in via Account Management.
See Apply and use management zones and Manage user groups and permissions for details.