WMI tutorial - extension package
- Latest Dynatrace
- How-to guide
- 1-min read
- Published Mar 30, 2022
Extensions extensions are based on a YAML configuration file. Its minimal contents are:
name- Must begin withcustom:for custom extensionsversionauthorminDynatraceVersion- Minimum Dynatrace version to enforce a minimum version of the extension schema
In this step you will
 Create YAML file
Use the following template.
name: custom:demo.host-observabilityversion: # add versionminDynatraceVersion: "1.227"author:name: # add your name
Save your extension.yaml and developer key and certificates using the following structure:
my-sample-extension/└── src/├── extension.yamldashboards/└── dashboard.jsonalerts/└── alert.json
 Build and sign your extension package
In the extensions parent directory, run the following command:
dt extension assembledt extension sign --key ./developer.pem
These commands build your extension package containing only the extension.zip archive and the extension.zip.sig signature file.
bundle.zip| extension.zip| extension.zip.sig
 Upload your extension to Dynatrace Hub
To upload and activate your extension, run the following command:
dt extension upload bundle.zip
Example successful output:
C:\extension>dt extension upload bundle.zipTenant url: your-tenant-urlApi token: your-api-tokenExtension upload successful!
For more information, see Manage WMI extensions.
Results
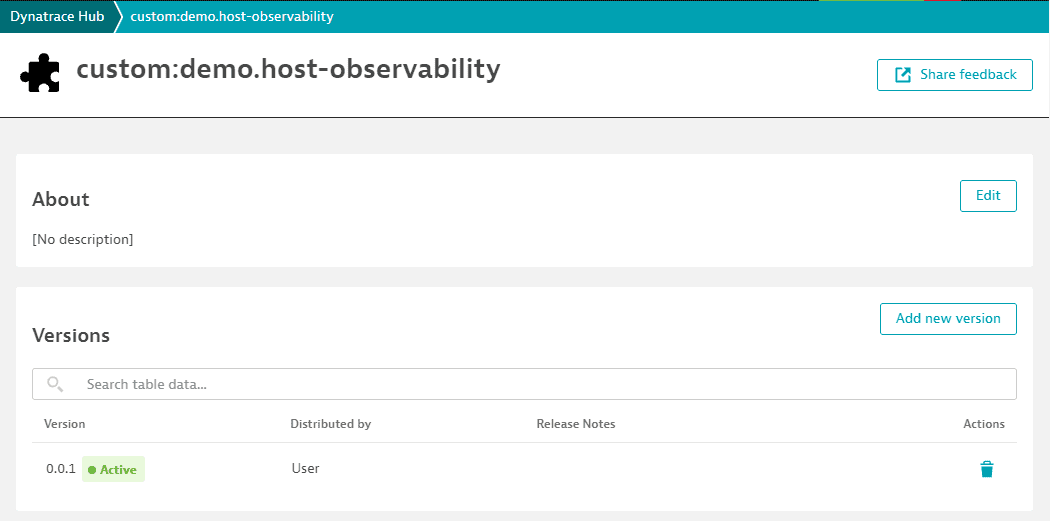
Your extension shows up in Dynatrace as Active.

Next step: WMI data source
Related tags ExtensionsInfrastructure Observability
 ExtensionsInfrastructure Observability