Migrate ActiveGate extension
- Published Dec 08, 2023
If you have an ActiveGate Extensions 1.0 or Extensions 2.0 extension in your Dynatrace Managed environment and you need to migrate it to your SaaS environment, you might need to deploy it again, review and adjust the ActiveGate's configuration, and upload it to the SaaS environment.
 Deploy the extension package
The steps for migrating ActiveGate extensions depend on the selected method of ActiveGate migration.
- If you don't change the ActiveGate's host during migration, the
plugin_deploymentdirectory should remain intact, and there's no need to redeploy the extension package. - If you change the ActiveGate's host, copy the extension package to the ActiveGate deployment directory (
%PROGRAMFILES%\dynatrace\remotepluginmodule\plugin_deploymentor/opt/dynatrace/remotepluginmodule/plugin_deployment).
 Review the ActiveGate properties
In Deployment Status > ActiveGates, filter by ActiveGate group, ensure that the extension modules are enabled, and restart the ActiveGate and Extensions Execution Controller (EEC) services if needed. You can find the names of properties for Module: Extension 1.0 and Module: Extension 2.0 in configuration properties and parameters.
 Upload the extension
Extensions 1.0 extension
To upload an Extensions 1.0 extension in the new SaaS environment
-
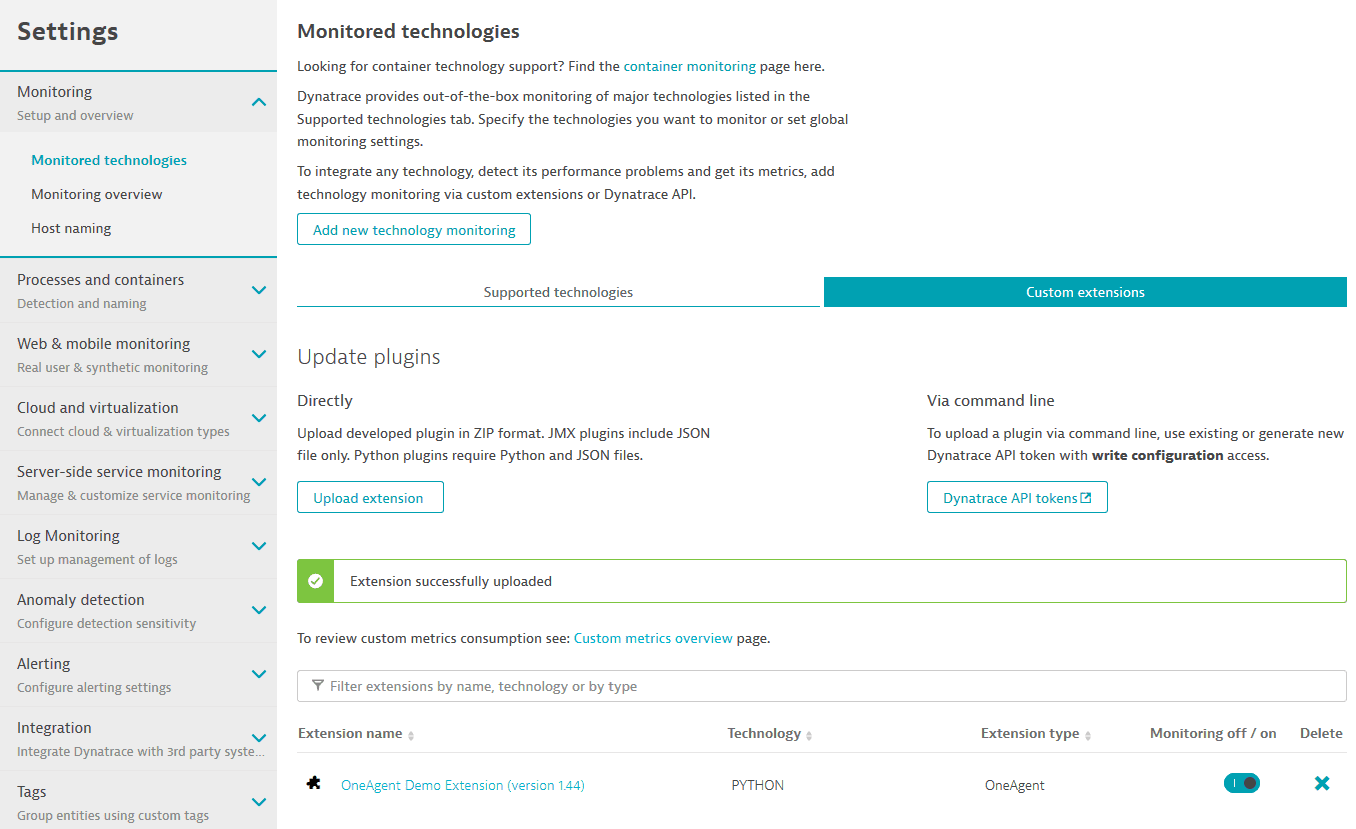
Go to Settings > Monitoring > Monitored technologies.
-
Select Add new technology monitoring.
-
In the Monitor remote technologies section, select Add ActiveGate extension.
-
Upload the extension package.
-
After successful upload, you should find the extension on the Monitored technologies page in the Dynatrace web UI, on the Custom extensions tab.

Note that you can automate the upload to the Dynatrace Cluster using the Extensions SDK or the Dynatrace API.
Extensions 2.0 extension
To upload an Extensions 2.0 extension in the new SaaS environment
-
Go to Extensions.
-
Scroll to the bottom of the page and select Upload custom Extension 2.0.
-
Select your extension archive (or drag and drop it) and upload it to Dynatrace.
Dynatrace Hub verifies the extension archive and structure and automatically enables it after a successful upload.
-
Most fields are pre-filled based on the extension YAML file. You can provide release notes with information explaining the reason for migration.
Deploy extension from Dynatrace Hub
Many extensions are already in Dynatrace Hub. In that case, you need to install them from Dynatrace Hub in your SaaS environment.
To deploy an extension from Dynatrace Hub in your SaaS environment
- Go to Extensions.
- Find the extension tile in the Dynatrace Extensions 2.0 you can add to your environment section.
- Select the tile, then select Add to environment.