Build workflows
- Latest Dynatrace
- How-to guide
- 19-min read
To build a workflow, you need to:
- Create an empty workflow.
- Define a trigger.
- Add tasks.
For a more detailed configuration of the control flow, make use of the task conditions.
Create a workflow
You can create a workflow, use a pre-made template, or upload your own template from a YAML file.
Create an empty workflow
To create an empty workflow:
-
Go to
 Workflows.
Make sure you're on the All workflows tab, not the Executions tab.
-
Select
 Workflow in the upper-right corner of the page.Draft workflow
A new workflow is, by default, a draft. You can work on a draft workflow and run it manually without being charged with workflow hours.
You need to deploy your draft changes to activate automatic triggers or update an existing live version of the workflow. Deploying a draft creates a new version of the live workflow.
You can also make changes to the live workflow via a draft to avoid an immediate impact on the live workflow. If necessary, you can also make changes to a live workflow directly.
The editor shows a draft or live workflow banner on the top. There is also a hint about who edited the draft last.
-
Select the workflow title. It is by default:
Untitled workflow, and enter a custom name. -
In the Select trigger section, select a trigger type from any of the categories (Event, Schedule, or On demand), and configure it.
-
To add the first task, select
Add task on the trigger node. -
In the Choose action section, select an action type. The task details pane on the right shows the task inputs according to your action selection.
-
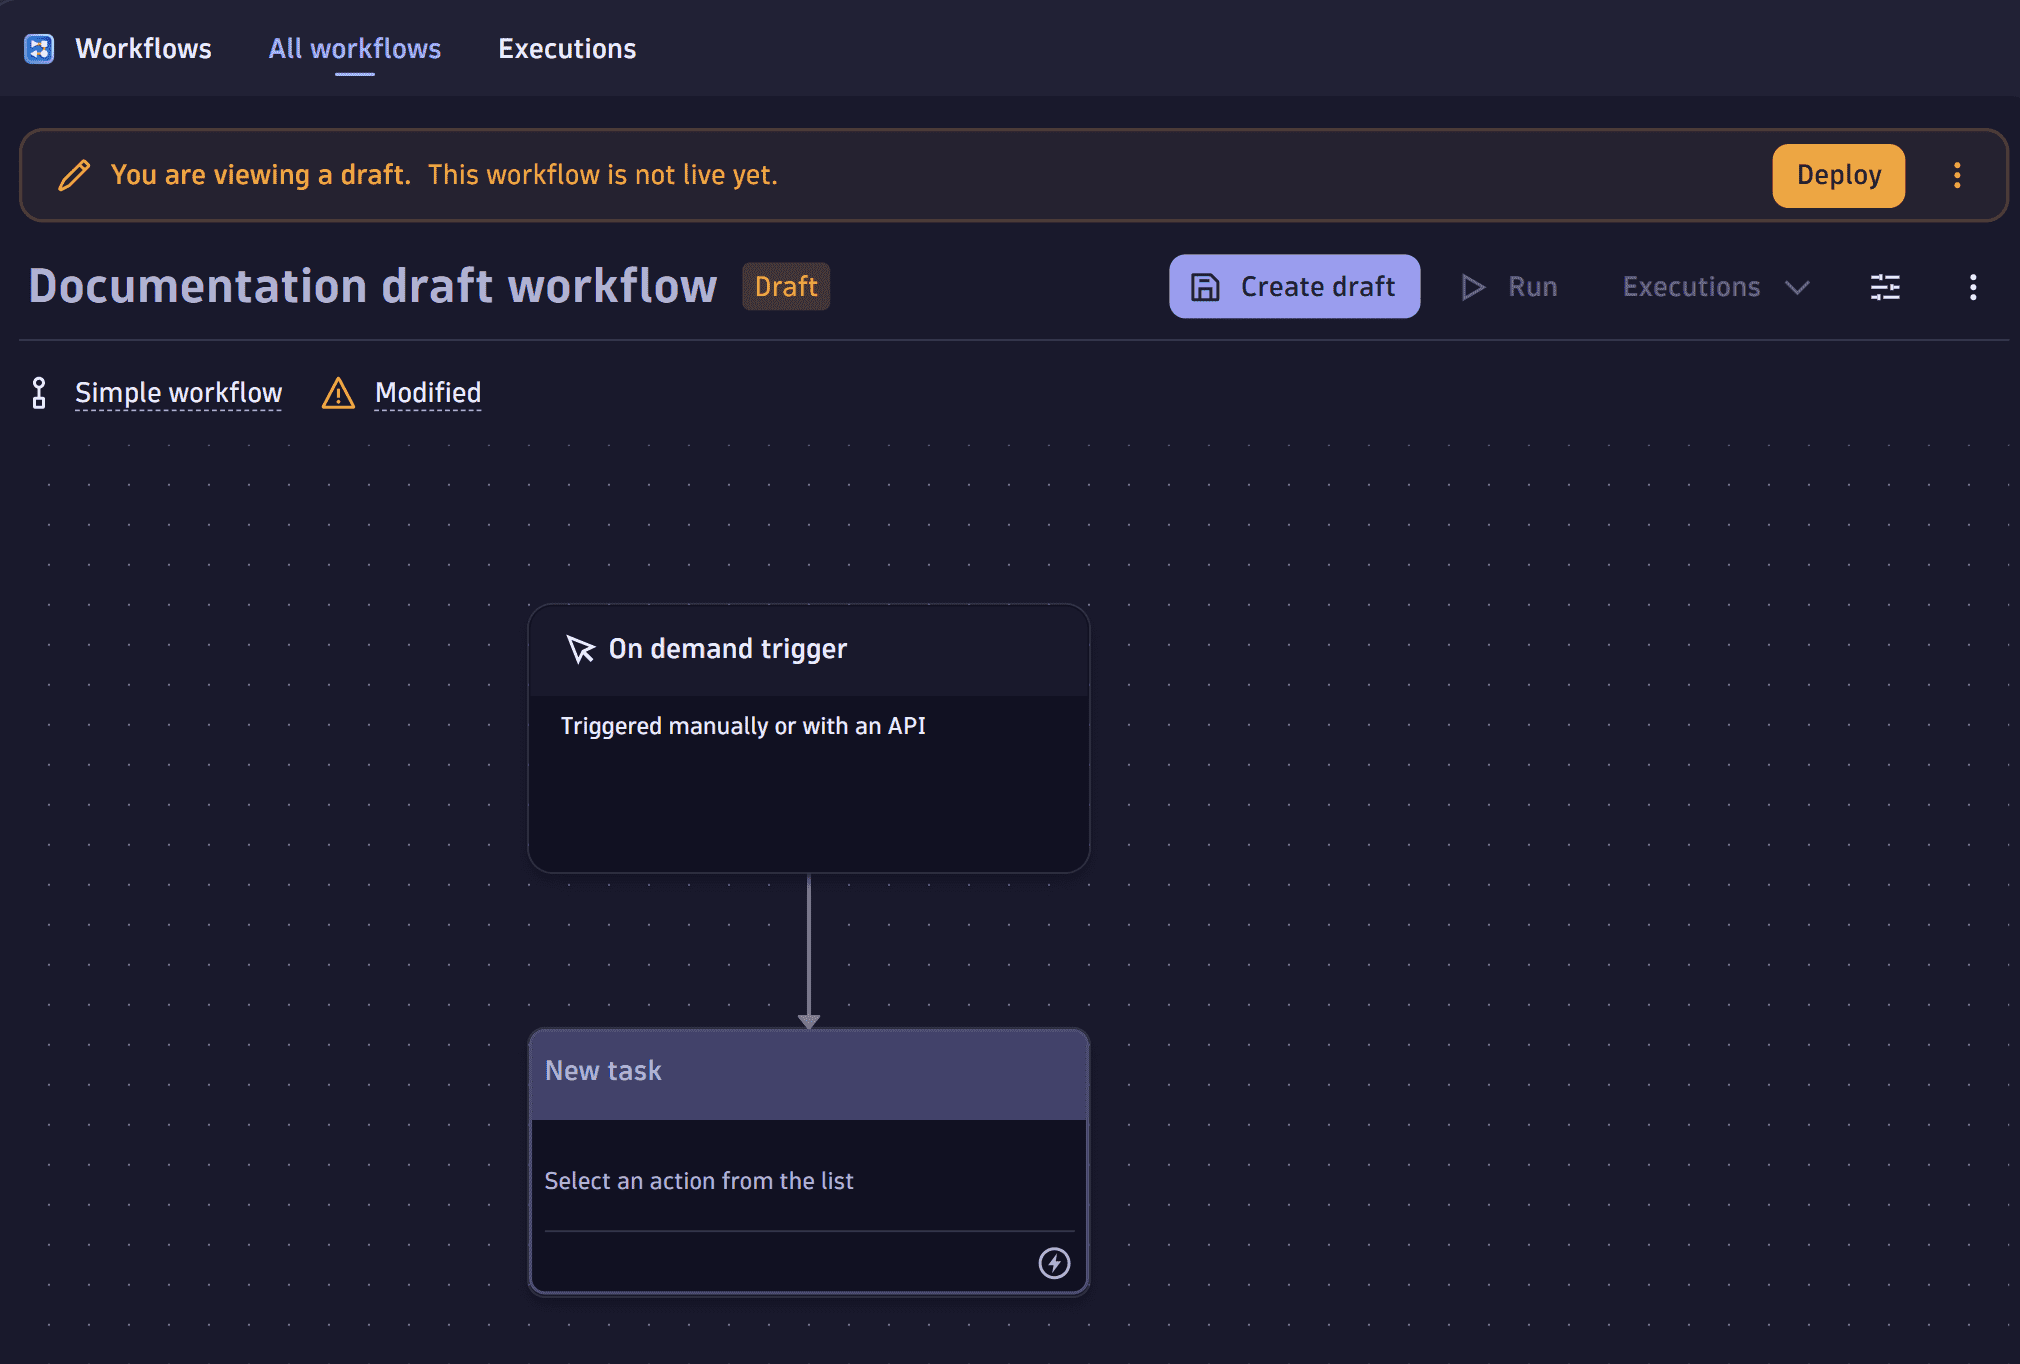
Select Create draft. The workflow appears as Draft in the All workflows tab.
 Screenshot of a draft workflow in the All workflows tab.
You can run the workflow manually. The execution of a draft workflow doesn't appear in the Execution list.
-
Select Deploy. A new version of the workflow is created. If the trigger is automatic, it will work from now on.
 A screenshot of a draft workflow.
 -
Select Run. The execution is recorded in the Executions tab list.
Create a workflow from a template
Workflow templates give you ready-made workflow definitions for common automation scenarios. Many Dynatrace apps come with templates—search the Hub to find ones for your use cases.
To create a workflow from a template:
-
Go to
Workflows.Make sure you're on the All workflows tab, not the Executions tab.
-
Select
Workflow in the upper-right corner of the page.
Browse the list of available templates. You can also search or filter by app. -
Select a template.
-
Follow the import wizard to verify app requirements and define connections, then select Create workflow.
-
Modify the workflow as appropriate.
-
Select Save to save your customized workflow.
Create a workflow from a template (local YAML file)
If you have a template saved locally as a YAML file, you can upload this to Workflows.
- Go to Workflows.
- Select
 Upload to upload the YAML file.
 - Follow the import wizard to map connections and verify app requirements, then select Create workflow.
- Modify the workflow as appropriate.
- Select Save to save your customized workflow.
For more information, see Upload a workflow or a workflow template.
Workflow editor sections
If you create a new workflow or open an existing one, the editor presents the new workflow. The workflow editor consists of three sections:
- Title
- Workflow editor
- Details pane
Title section
The title section shows you the title of your workflow and offers some interactions with the workflow.
- Workflow title—if you have unsaved changes, a Modified badge appears next to it.
- Actions—to the right of the workflow title are interactions you can have with the workflow.
- Save the workflow.
- Run the workflow.
- Open the workflow
 Settings to view owner, configure actor, workflow input and result.
 - View the workflow Settings to see the associated actor of the workflow. The actor is the user context in which the workflow tasks are run.
- Switch between the Make private or Make public options. By default, a workflow is only visible to the creator (workflow owner). When you make the workflow public, any user with permissions can access it.
- Delete the workflow.
Workflow editor
The workflow editor pane (the main area under the title) displays a graphical representation of the workflow. It always contains a trigger node that provides access to the trigger configuration. The tasks and their connections (transitions) give you an idea about the control flow.
- To move the workflow, select and drag the background.
Details pane
The details pane on the right provides access to detailed settings and properties of the current selection in the workflow editor.
- To access the trigger configuration, select the trigger node.
- To access the details (such as Input, Conditions, and Options) for a task, select the task.
Edit live workflow
You can edit a workflow after creating, and deploying it. Go to Edit workflow in the Title section.
Be aware that any saved changes immediately take effect. Editing a live workflow should only be done for non-production use cases or when a fix is needed. It's recommended that changes be made via drafts so that they can be tested without affecting the execution of the current live workflow.
Saving changes to your live workflow will discard your draft. This is to avoid a mismatch between the draft and live changes.
Edit draft workflow
You can edit a draft workflow. You can also open a workflow and edit it in draft mode. Editing a live workflow and saving it as a Draft lets you experiment on the draft workflow until you're sure it's ready to be deployed.
Workflow options
The workflow options provide the following configuration options of a workflow.
Owner and Actor
- The owner is, by default, the user who created the workflow. The owner can be a user or a group. In the case of a private workflow, only the owner (user or group) has access to the workflow.
- The actor is the user context for all tasks and their actions. The actor can be either an interactive user or a service user. For more information on the actor context and the permission configuration, see permission section.
Workflow description
The workflow description helps to capture any documentation.
Workflow guide
Workflows can include a guide that explains prerequisites and configuration steps. To add or edit a workflow guide:
- After you've created a new workflow, select . The options pane appears on the right side of the screen.
- In the section Workflow guide, select Add guide. A Guide pane appears at the bottom of the workflow.
- Select Edit guide to edit the guide. A text editor opens where you can create or edit the guide. You can use Markdown to apply formatting.
- When you're done writing the guide, select Done.
You can link to elements within the workflow, using either relative or absolute paths.
For example, use the following relative links to link to panels within Workflows:
[Options](?options): Opens the Workflow options.[Trigger](?trigger): Opens the trigger configuration.[Task](?task=http_request_1&tab=options): Opens the tasks and selects the configured tab.
To remove a guide, select Remove guide
Workflow input and result
- The workflow default input is a workflow global configuration object in JSON notation, and the input expression allows access to it in task inputs. The default input is merged with any input provided at runtime. The workflow default input size is limited to 10 MB.
- The workflow result allows compiling a result from any relevant task result properties, as required. Use the expressions to reference task results and ensure the result evaluates to a valid JSON object. A failure during result expression evaluation, an evaluated workflow result that is not a valid JSON object, or a result exceeding the size limit will fail the workflow execution. The workflow execution result size is limited to 10 MB.
Trigger
Workflows concepts define what makes a workflow run. A trigger can be a schedule, an event, a manual interaction (on demand), or an API request.
Tasks
Tasks define the inputs for actions, have options to loop, retry or timeout action processing, and define the conditions that make them run. The conditions are either related to states of predecessors or custom expressions.
Add a task
To add a task, hover over the trigger node or any existing task in the workflow and select Add task. The tasks run as a directed acyclic graph (DAG). This means the tasks are ordered sequentially without any loops and they run in one direction.
To add a task to a workflow
- Open the workflow for editing.
- Hover over the trigger node or any existing task in the graph and select .
- Choose the action type for the task to add it to the workflow.
- Optional Select the task name to edit it. The task name must be unique within the workflow. You can use the task name to access its output in the subsequent tasks.
- Fill in the input form of the task to configure its behavior.
- Save the workflow.
It's not possible to add a Run this task if and Else condition to the first task. As a direct successor of the trigger, no task can define a state condition to a predecessor, as none exists. Nevertheless, a custom condition can be configured to evaluate the properties of an event trigger context.
- To change the type of the task, select Change action in the upper right of the task details. Change of type discards the current configuration.
- To change the layout of the workflow, drag your tasks to a new position. The logical flow is still determined by the task state conditions. Rearranging the tasks alone doesn't change the logical flow.
Add a task transition
To draw a transition for a task to build a predecessor/successor dependency as an arrow
- Hover over the trigger node or any existing task in the graph.
- Select Add task.
Disable or enable a task
While developing or testing a workflow, you often run a workflow over and over again. In such cases, it's often helpful to temporarily disable some tasks in the workflow.
If a task is disabled, it is skipped. In the case of default condition configuration (success and skipped), your workflow behaves the same as if the task ran successfully. The only difference is that the skipped task doesn't produce any result. Disabled tasks are rendered in the editor and monitored in a different style to indicate their state.
To disable a task, open the workflow for editing, and do one of the following
- Hover over the task you want to disable, open the menu in the upper-right corner of the task node, and select Disable task.
- Select the task you want to disable, open the menu in the upper-right corner of the task details pane, and select Disable task.
Save your workflow. Your changes take effect with the subsequent execution.
To enable a disabled task, open the workflow for editing, and do one of the following.
- Hover over the task you want to enable, open the menu in the upper-right corner of the task node, and select Enable task.
- Select the task you want to enable, open the menu in the upper-right corner of the task details pane, and select Enable task.
Delete a task
To delete a task from your workflow, open the workflow for editing, select a task and do one of the following
- Hover over the task you want to delete, open the in the upper-right corner, and select
 Delete task.
 - Select the task you want to delete, open the in the upper-right corner, and select Delete task.
- Select the task you want to delete and select Delete on your keyboard.
Save your workflow.
Delete a task transition/condition
To delete a task transition/condition, open the workflow for editing, select the task with the incoming transition as the state condition, and do the following
- In the details pane on the right, go to Conditions.
- Next to the task name, select Delete .
- It's not possible to remove a task transition in the graph directly. To remove a task transition, go to the Conditions tab.
- Removing a task transition for tasks that are direct successors of the trigger is impossible as there is no preceding task.
Task conditions
A task condition decides whether a task should run. You can express task conditions based on the final state of the predecessor task and as a custom condition to implement any custom logic. You can find the task conditions on the right-hand side in the details pane.
To find the task condition
- Open the workflow.
- Select a task.
- In the details pane on the right, go to Conditions.
You can read the state conditions as a sentence, starting with Run this task if, followed by a list of all predecessor tasks and the configured state condition.
To configure the state condition, select one of the following
- success or skipped (default) means the predecessor must end successfully or skip.
- success means the predecessor must end successfully.
- error or cancelled means the predecessor must fail or be actively canceled.
- error means the predecessor must fail.
- any means the predecessor must end with any outcome.
Optional You can also configure a custom condition in the details pane on the right, below the And custom condition was met expression.
A custom condition is formulated as a comparison or any other expression that evaluates to a boolean (true or false). For example, if you want to have a certain task only to be executed if the predecessor task_1 returns a certain value bar, then the custom condition could be the following: {{ result("task_1").foo == "bar" }}.
The task conditions also enable you to define what should happen if neither the state condition nor the custom condition is matched using the Else section.
- Skip means it skips the task and proceeds with subsequent tasks as defined in the workflow.
- Stop means no more tasks are executed on this branch of the workflow graph.
Custom condition example
For example, the problem_details task returns the following result:
{"title": "CVE-2023-36049","status": "OPEN","displayId": "S-1760","technology": "DOTNET","description": ".NET, .NET Framework, and Visual Studio Elevation of Privilege Vulnerability","riskAssessment": {"riskLevel": "CRITICAL","riskScore": 9.8,},"affectedEntities": ["PROCESS_GROUP_INSTANCE-18DF39B09D1CD50E","PROCESS_GROUP_INSTANCE-AF30112BB85EE3CC","PROCESS_GROUP_INSTANCE-DE1745778EC39B58"],}
If you want to send an escalation email task to the CISO office for highly critical issues with a risk score of 9 or greater, you can use the following custom conditions on the escalation email task.
{{ result("problem_details")["problem"]["riskAssessment"]["riskScore"] >= 9 }}
Also, you would like to inform your ops team of critical security issues affecting many entities. In this case, you need to check the number of affected entities and the risk level. You can use the following custom conditions.
{{ result("problem_details")["affected_entities"] | length > 10 and result("problem_details")["problem"]["riskAssessment"]["riskLevel"] == "CRITICAL" }}
Task condition example: Automate testing a software project PR
You want to automatically deploy changes to a software project to a review system so that you can evaluate the suggested changes of a pull request (PR). Once the changes in the PR are deployed, you want to add some test data to the system and run optional end-to-end tests to verify the basic functionality. You also want to inform the team if you have any issues. Once the system is up and running, the product owner is notified to proceed with the review.

This example has
- On demand trigger
deploy: task to deploy the test system.prepare_test_data: task to save sample data to the database.get_e2e_tests: task to load end-to-end tests from the binary repository.run_tests: task to execute smoke tests/preliminary tests if defined.send_error_report_to_team: task to send the error to the team with a link to logs and traces.publish_test_results: task to publish the test results and update the PR.notify_product_owner: task to send a link to the verification system to the product owner.
Once the deployment task is successfully completed, the prepapre_test_data task will populate the review system with some data to view. At the same time, the get_e2e_tests task looks up any end-to-end tests from a centralized test system, which may or may not have tests to run.
Both tasks have the deploy task in their conditions with the state condition set to success or skipped by default.
Now that you want to run the tests, the get_e2e_tests task is prepared. However, you can only do that after loading the test data with the get_e2e_tests task. Therefore, the run_tests action has conditions to run both the get_e2e_tests and prepare_test_data tasks, with the condition set to success or skipped (default). Given these conditions, you might not get any tests from your centralized system to run the run_tests. This action should be skipped if there aren't any test results. You can add another custom condition to check the result of the get_e2e_tests.
{{ result("get_e2e_tests").run_tests }}
The custom condition of a task is only checked if all the predecessor tasks are finished and fulfilled their state condition.
By default, the workflow would stop executing if this condition is not met, in other words, if run_tests is false. However, if you want to skip this step and continue the workflow, you can change the else action from stop here (default) to skip.
To inform the team if the running of tests fails, you can add the send_error_report_to_team task after the run_tests task and set the state condition to error. This task will only run if the run_tests task ends with an error.
Otherwise, you would like to publish the test results on the pull request when the tests are finished successfully. By adding the publish_test_results task after the run_tests task, by default, this will always run in case the run_tests task was successful or skipped. However, you only want to publish test results if we run tests, so we set the state condition from success or skipped to success, meaning the publish step won't run if the run_tests are skipped.
Lastly, you want to inform the product owner about the review system. This should happen only after any automated tests have finished, but in any case, with or without tests. Therefore, the notify_product_owner task has its state condition for run_tests set to any.
Task options
You can configure specific task behavior in the details pane on the right-hand side in the task options.
Task options
 Wait before
 Loop task
 Retry on error
 Adapt timeout
Wait before
Turning on the toggle allows you to configure the Wait before option for the action. The Wait before option controls how long a task stays in the waiting state before being run. The default Wait is 0 second and max value is 86400 seconds. You could also add a  Jinja expression instead of a number.
Loop task
Turning on the toggle lets you configure the Loop task option for the action. This option enables an action to be executed repeatedly by iterating through items in a list.
Configuration options
- Required Item variable name
- Required List items for the loop.
- Concurrency is the number of times the loop executes sequentially. The default is one.
You can provide a static list or use an expression to reference, for example, the result of a preceding task.
If you turn on the loop option, the individual action execution results in a list. The result will always be a list, regardless of the length of the input list. Also, the task log will contain a concatenation of all individual action execution logs of the iterations.
To access the list item in the task input configuration for the current iteration, you can use the expression {{ _.item }}, where the name is configurable. In the Run Javascript action, you can use an SDK to access the loop item.
Retry on error
Turning on the toggle allows you to configure the Retry on error option for the action when the action fails.
Configuration options
- Number of retries, by default, is set to two.
- Delay between retries (seconds), by default, is set to 30.
The default settings mean that the task retries the action two more times with a 30-second interval.
If the action is successful, the task succeeds too, and there will be no more retries. If none of the action retries are successful, the task will end in an error state.
Using the loop option on your task, you can configure the Only retry failed loops option.
- Only retry failed loops means, by default, that only the failed List items in the loop are retried (default). Unchecking the option means that if one of the list items fails, all list items are retried.
Adapt timeout
Turning on the toggle allows you to configure the Adapt timeout option. You can set the Timeout this task (seconds) setting to limit how long a task is processed before it fails with an error. The default timeout is 60 minutes, up to seven days.
The Dynatrace runtime timeout is 120 seconds by default. Dynatrace runtime timeout limits a single action. You can't increase the timeout in Timeout this task (seconds) setting. A task may run multiple actions in a loop or retry and run longer than the individual actions. This overall runtime accounts for the task timeout.